This is the third part of the tutorial.
We’ve got a melody and a bass line, let’s add drums! Drums are notoriously tricky to create, so we’ll use a shortcut and use the templates included to AT (there is another page dedicated to creating drums) (we could also load any of the drums in the AT package by right-clicking on the Instrument List and select “Load instrument after”, but that’s not what we’re going to do here).
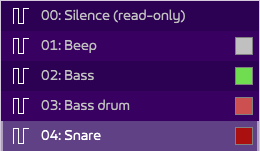
Create another sound in the Instrument List on the left: this time, call it “Bass drum” and select the like-named template. It is added in slot 3.
Do the same with a “Snare”, in slot 4. With these, we have this:
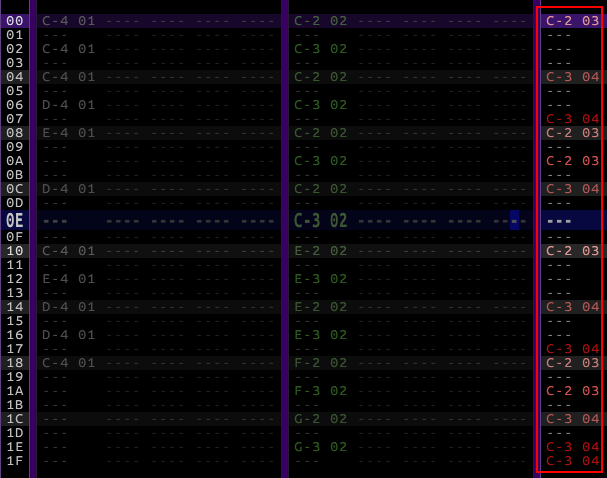
Open the PV and, on the third and empty track, add the following notes:
Let’s add new shortcuts to your arsenal:
- alt + up / alt + down to select the next/previous instrument.
- enter to select the nearest instrument from your cursor.
Let’s listen to our “song”:
We’ve created our first pattern, yay! This could be the whole song, but we’re going to extend it a bit very soon. But now, let’s talk about…
Speed
Maybe your think this music has the right tempo. Or maybe not. I think it does, personally. However, here’s a quick glimpse on how to change the speed. There are two ways.
Speed in song properties
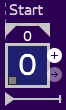
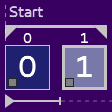
This is the simplest way, but actually works in many cases. Each song has an initial speed parameter. Open the Edit > Subsongs properties > 0: Main:
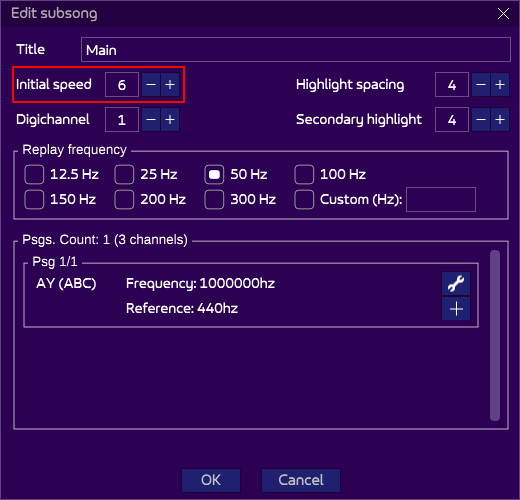
Highlighted in red is the speed that will be used at the beginning of your song. What means “6”? It means that each line of your track will last 6 frames before the next line is read. So, the lower speed, the fastest the song: a speed of 1 will have each line last one frame.
The frame duration depends on the replay frequency which you can also set in this dialog. In most cases, you will use 50 Hz (because your hardware screen probably has a refresh rate of 50 Hz!). You can change this value, but be aware that this has technical consequences (especially if you raise it!), so ask advice from your coder first to make sure your song will actually work with their code.
Changing the initial speed works in many cases, but what if you want to change it during the course of the song? Well, a second technique is necessary.
Speed in the tracks
You can change the song speed at any time by writing it in the tracks. Specifically, in the speed tracks. At the right of the music tracks are two smaller tracks, namely speed and event tracks. These are described in details here.
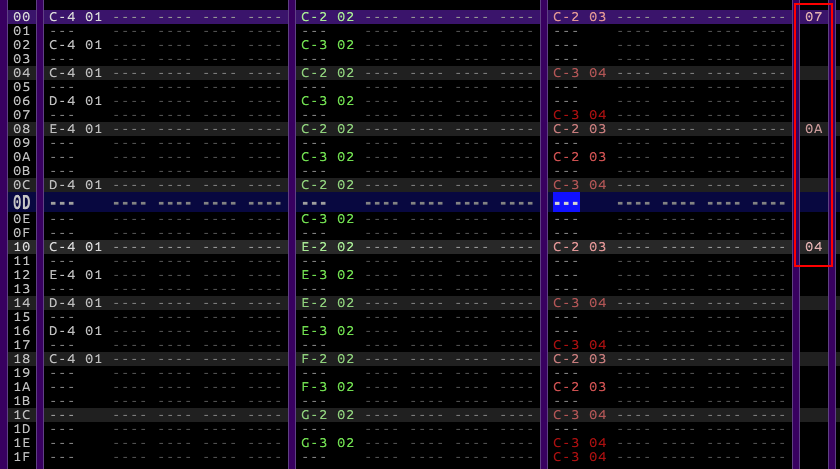
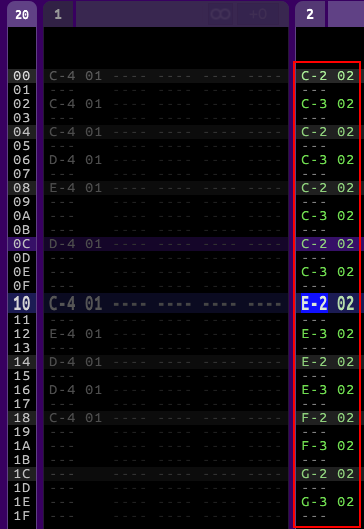
You can type a number from 01 (faaast) to FF (very slooooow), 06 being the default mid-tempo. As an example, writing the following tempos…
… will sound like this:
The first 8 lines (00 to 07) play at a speed of 07 (medium tempo). Then the lines from 08 to 0F play even slower at 0A. The remaining lines play at a speed of 04, which is pretty fast. Funny, no?
This was only a (dubious sounding) example on how to use speed. You can remove these speed values, or add one at the top with a value of your choice.
Now let’s continue this great song!
A second pattern
We are going to clone the position: in the linker a the top, hover your mouse above the first position: two small icons are going to appear:
The “+” icon is for creating a whole new empty pattern, the arrow is for duplicating. But what I want is cloning. Right-click on the position and select “clone”. The difference? Cloning will create another position with a new pattern, which content is the same. It’s like cloning a sheep: if you paint the second sheep red, the first one is still white. Duplicating would create another position with the same pattern: if you modify it, both position 0 and 1 will be impacted. That’s nice, but not what I want here.
Clone the first position. Yay, a position 1 with a pattern 1 is now present:
The second position is selected and its content can be seen in the Pattern Viewer. Play the pattern with space. The content is the same as before!
Move your cursor to the bass track (in the middle) and select the bass instrument (with any shortcut I gave you above). We’re going first to clear it (make sure the Record mode is on):
Now enter these notes instead (only the second half is modified):
Solo/mute
To hear the difference, let’s focus on one track only: there are two ways to mute a track, or isolate it:
left-click on the channel number at the top of each track.

left-click on the channel EQ in the Meters at the top-left of the screen.:

A muted channel appears greyed out, both in the PV and in the Meters.
To solo a channel, it’s the same, but with a right-click!
You can also use the following shortcuts in the PV:
- ctrl-numpad 0 to mute the channel where your cursor is.
- ctrl-numpad 1 to solo the channel where your cursor is.
By soloing the bass track, you can hear the following:
And the whole song sounds like this:
What we’ve just done is duplicating the whole first position, and modify the bass on the newly created position. The other two tracks are still the same, which is fine to our music, and which you’ll probably do a lot in your future songs.
Some of you may be concerned that these duplications will use more memory than needed (and that the low-level yet cumbersome track management of STarKos/AT1/AT2 is more optimized). Don’t worry about this! AT3 will remove all same-sounding tracks!
Let’s move on to the next part of this tutorial…